June 22, 2024
When compared to other types of flooring like hardwood, carpet and tile, COREtec floors are remarkably easy to install. They require zero acclimation period, a minimal amount of subfloor prep and just a few tools. For you, this makes everything easier, whether you choose to hire a professional or DIY. If you hire a professional, LVP installers are easier to find than tile or hardwood installers, and your costs will typically reflect that. Whatever route you take, floors that are quicker to install translate to less in-home disruption (you’re welcome).
Let’s dig in. Check out these 6 common floor installation questions with detailed video answers and advice from a professional installer:
Want to jump to your question? You can.
- How can I make sure I stay safe while installing COREtec flooring?
- How can I ensure my flooring installation looks as good and realistic as possible?
- How do I lock the flooring pieces together?
- What are expansion gaps and how can I make sure to maintain them?
- How do I navigate my installation around doorways?
- What should I do for transitions, treads and trims?
Before you get started with a flooring installation (or any home improvement project for that matter), you need to know how to properly protect yourself.
Watch the video below to see what steps you can take, including what PPE to wear, to ensure you stay safe during a COREtec floor installation.
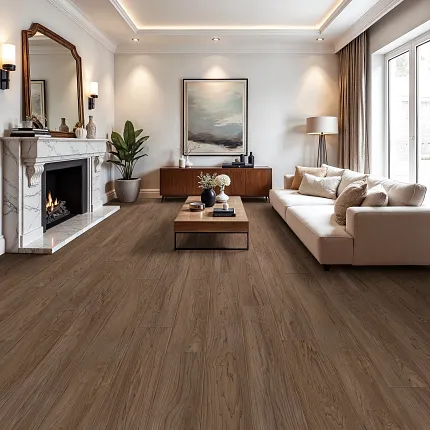
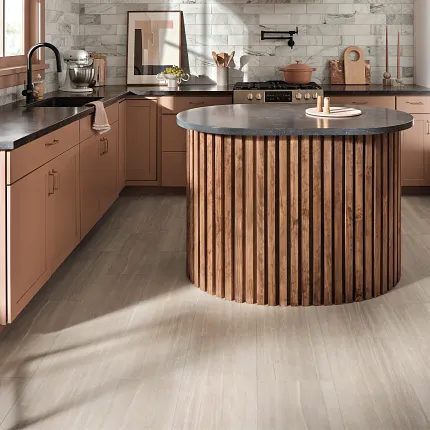
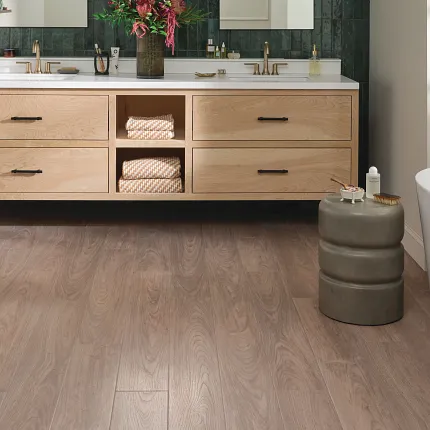
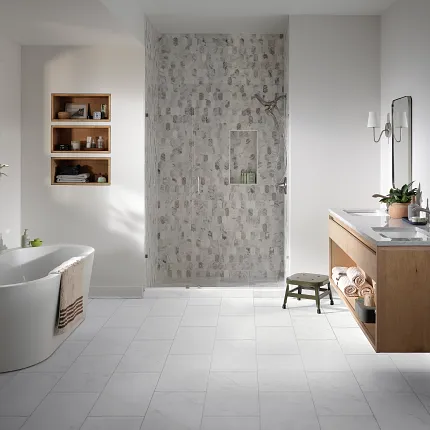
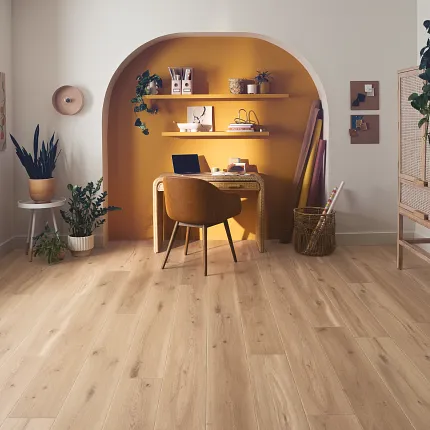
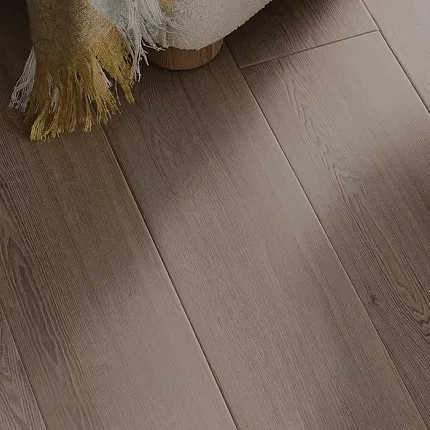
On their own, COREtec floors look remarkably like true hardwood or tile.
However, the way our floors are installed can certainly maximize the realism of your home project.
Watch the video below for tips on how to avoid common installation mistakes and what you can do to ensure your COREtec floor installation leaves guests exclaiming, “I can’t believe it’s not hardwood.”
You know how to stay safe. You know how to add realism. Now it’s time for the good stuff – how to actually install a COREtec floor.
Watch this video to see the various ways you can install COREtec floors, with a focus on three acceptable locking mechanisms – Lock and Click, Angle-Tap and Angle-Angle.Navigating your floor installation around a doorway can seem tricky and daunting. In this video, see how a flooring expert would easily bypass this common hurdle and how you can too.
With a COREtec floor installation, it’s pivotal you maintain at least a ¼-inch expansion gap to allow for expansion and contraction. Watch the video below for some quick tips to ensure you follow this best practice.
Small things. Big differences. That’s the name of the game when it comes to transition, tread and trim pieces. How you manage these pieces can absolutely level up the appearance of your installation. Here’s some tips:
Transitions: Chances are that you’re going to be transitioning to other floor types or even areas without a finished floor during your installation. In the video below, we’ll walk you through what transition piece you need to use depending on the type of floor you’re transitioning to and how to easily go about installing these pieces.Treads: Tread pieces are for stairs. And we’re kind of the best in the game when it comes to this space. We’ve got many options you can choose from to achieve your desired aesthetic, and our products can work with just about any size of stair you’ve got.
Watch the video below for clear and easy instructions on how to carry your installation to your stairs.
Trims: It’s a best practice to finish up your installation with quarter rounds along the edges of walls, cabinets or islands. This helps fill expansion gaps and gives your space a seamless and finished look.
Lucky for you, we offer coordinating quarter rounds for all our floors. Watch the video to see how to easily install these finishing touches.
We hope this article has been helpful in answering any questions you might have about a COREtec floors installation. If you have questions that weren’t addressed here, please call us at 844-743-7429 or email us at yourfriends@coretecfloors.com, and we’ll be happy to assist you. And always be sure to follow your product’s specific installation guidelines.
For more information about COREtec floors, visit here.


